
Two important Schoology reminders for the end of the semester are saving your course to Resources and keeping your course from being archived. A step-by-step description of how to save your course to Resources is provided below (thanks to Kirsten Fletcher) and a click here to view a prior blog post on saving your course from the "archive".
To move course material to resources (recommended at end of semester)...
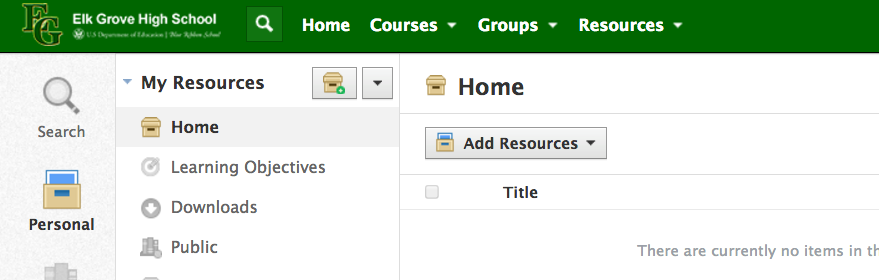
- First, go to Resources and create a collection by clicking on the file box with the green + sign. Give your collection a title (i.e. French 1). Within this same collection, you can save each semester of your course as a separate folder.
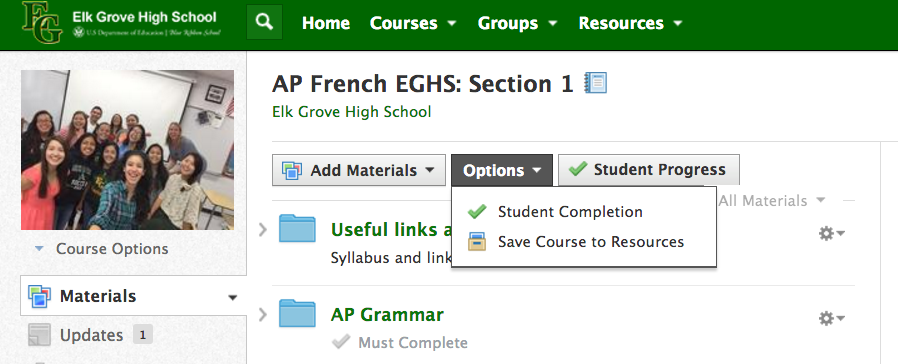
- Go to Course page and click on Options -> Save course to Resources
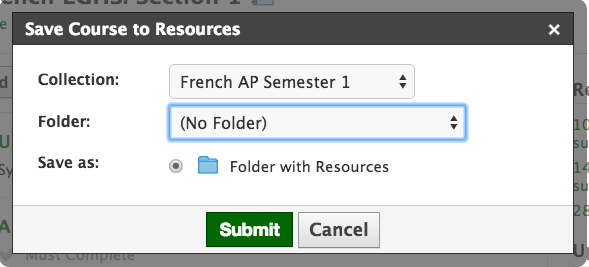
- Choose the collection you created in Resources and click submit
- Discussion answers, grades, students’ grades and posts, and students’ assignment submissions will not be copied to resources
I was hoping I could save all the products that were submitted to the media folder...Any ideas how to do that without burning DVD's
ReplyDeleteHi Liz,
ReplyDeleteI don't have much personal experience with media albums, but in looking it up, it seems that there isn't a "mass download" feature yet on Schoology. (https://support.schoology.com/hc/en-us/community/posts/201877358-Media-Albums) I do see that you can download each one individually, but not as a whole.